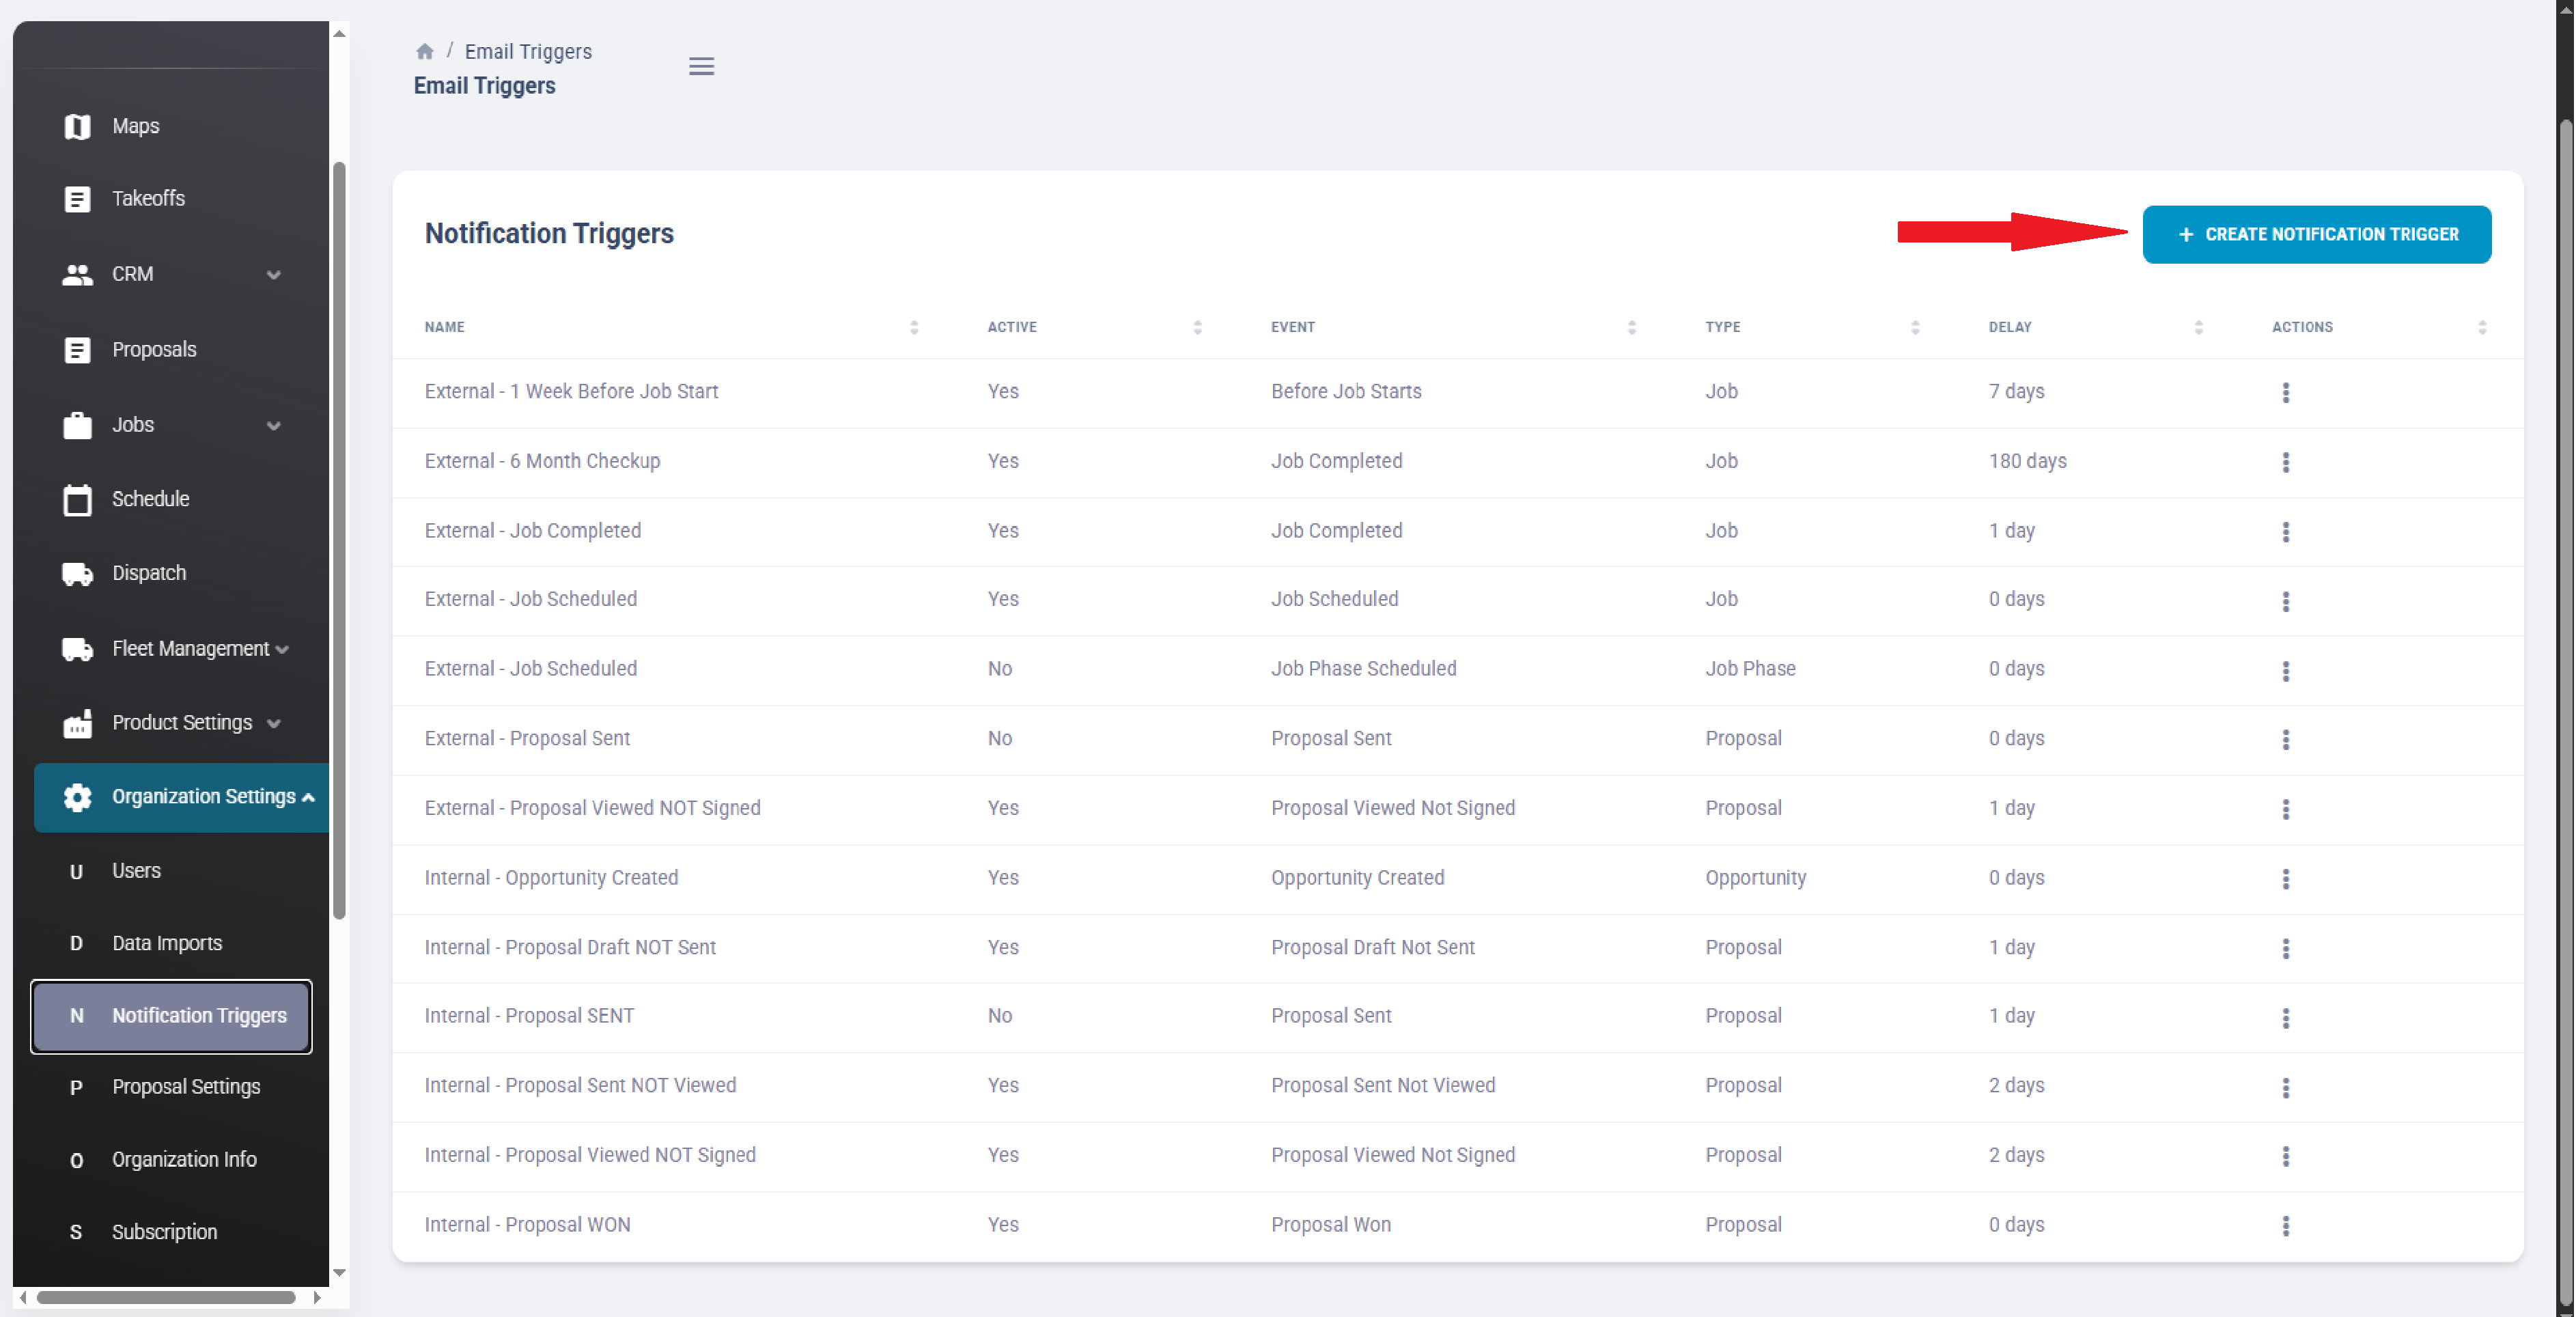
Bitumio > Left Navigation Bar > Organization Settings > Notification Triggers1. Use the workflow above to access the Notification Triggers screen.
2. Click the  button. This brings you to the Create Trigger screen.
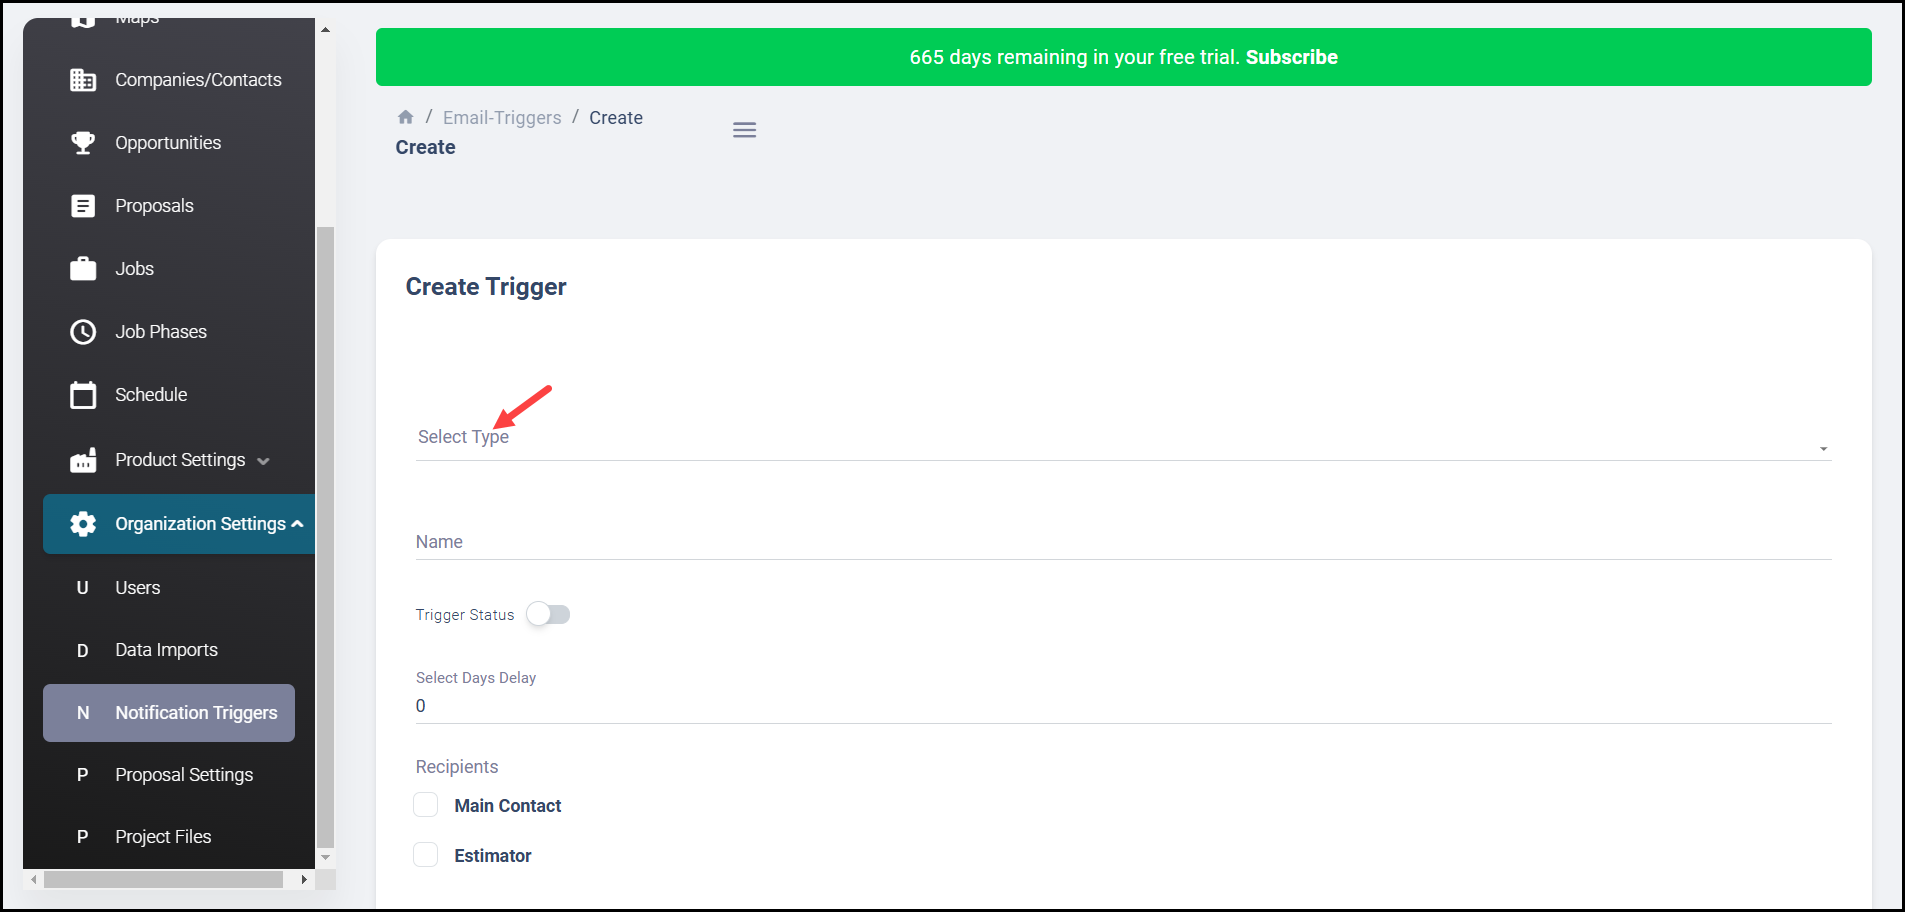
3. Select your trigger from the Type dropdown menu. Triggers are categorized by their context, such as a Proposal, Job, or Opportunity. Choosing the correct type ensures your automation rule fires exactly when it is supposed to.
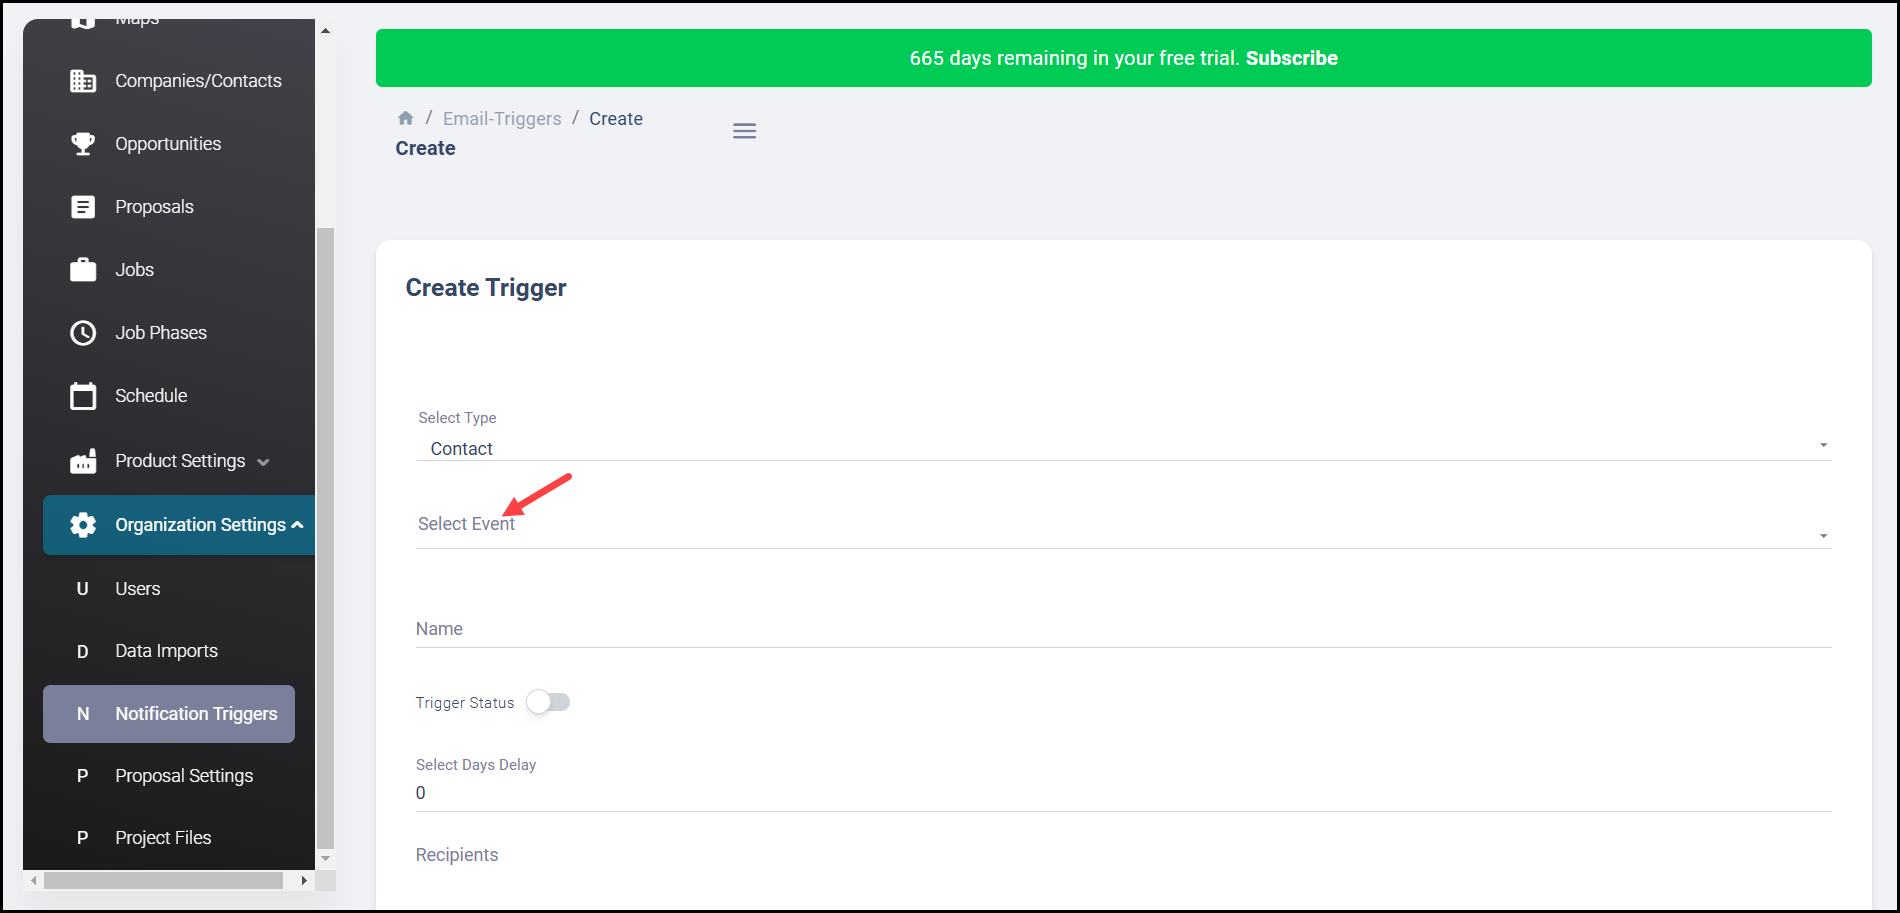
4. Once you choose a type, the Select Event dropdown will appear. Use this dropdown to select the event type. The Event tells the system exactly what action will activate your trigger. A couple examples of Trigger Events:
Proposal Won - Once a Proposal has been signed it is automatically marked as Won. This is a great time to send a "Thank you! We look forward to working with you." email.
Proposal Sent and Not Viewed - If a Proposal has been sent but it has not been viewed by the Prospect, this is a great time to send a follow up email to the prospect AND send an email to the estimator to let them know the Proposal they sent has not been viewed and they should follow up.
Proposal Viewed and Not Signed - Situations where Prospects have viewed the proposal but did not sign could indicate they have questions or reservations about the proposal. This is a good time to follow up with the prospect proactively to ask if they had any questions about the proposal. Likewise, an internal email to the estimator could nudge them to follow up.
5. Give the Trigger a name in the Name field, then select Activate. The name helps you easily differentiate between multiple Triggers with the same Trigger Event that are set up to send on different schedules.
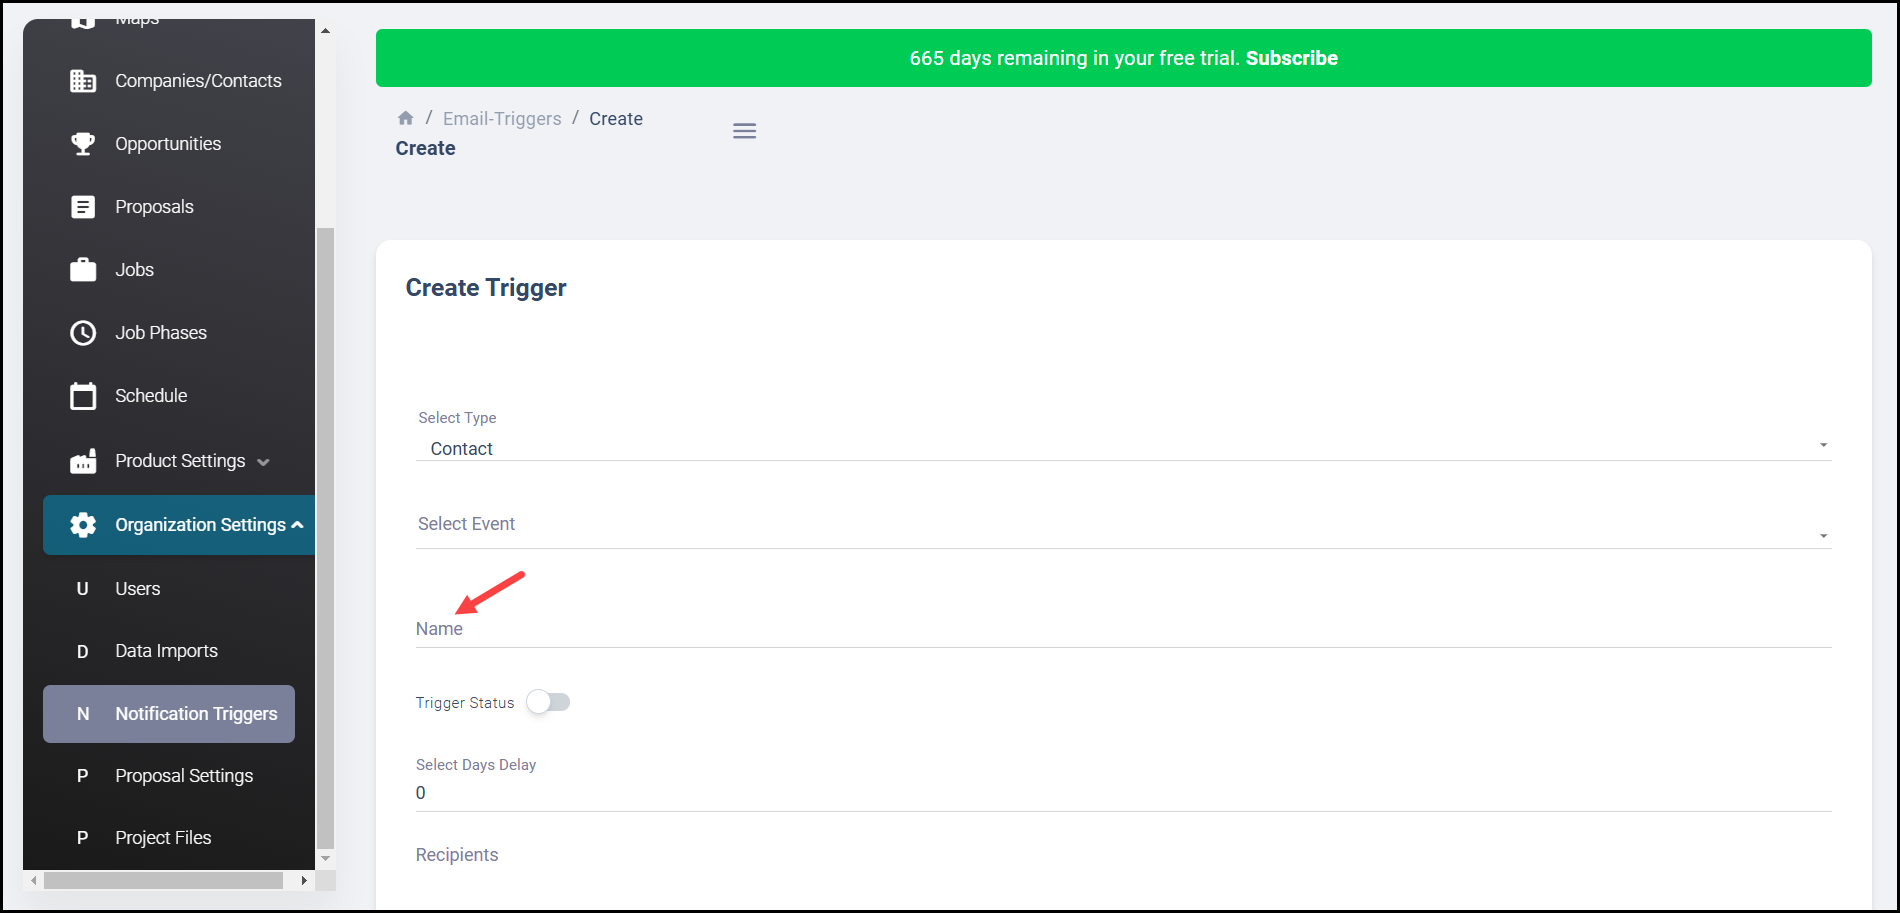
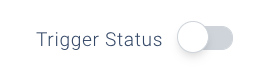
Inactive Triggers will not send any emails.
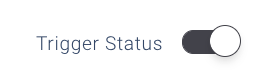 Active Triggers will send emails.
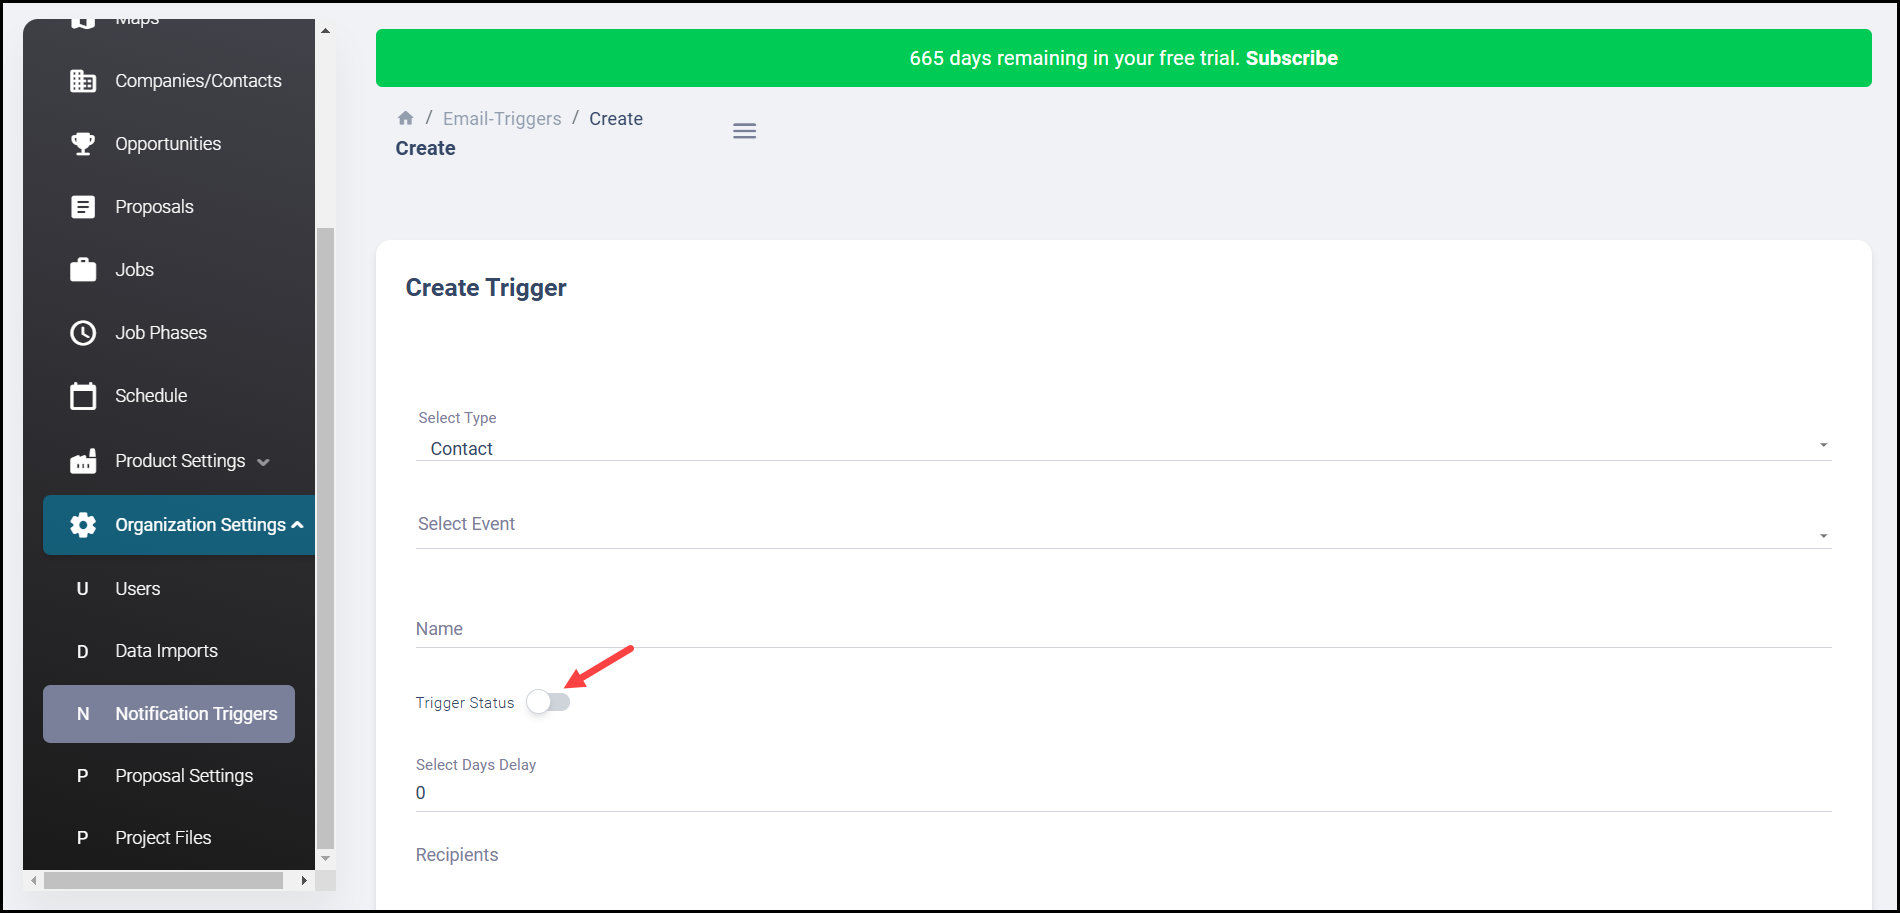
6. Use the Select Days Delay field to define how long to wait before following up. This sets the amount of time between when an email qualifies for the action and when the action is triggered.
- Example: Entering "2" here would mean that once the Prospect views the Proposal but does not sign, Bitumio will wait 2 days before sending the "Proposal Viewed Not Signed" email.
- If the Prospect signs the Proposal within that 2 day window, Bitumio will suppress the email.
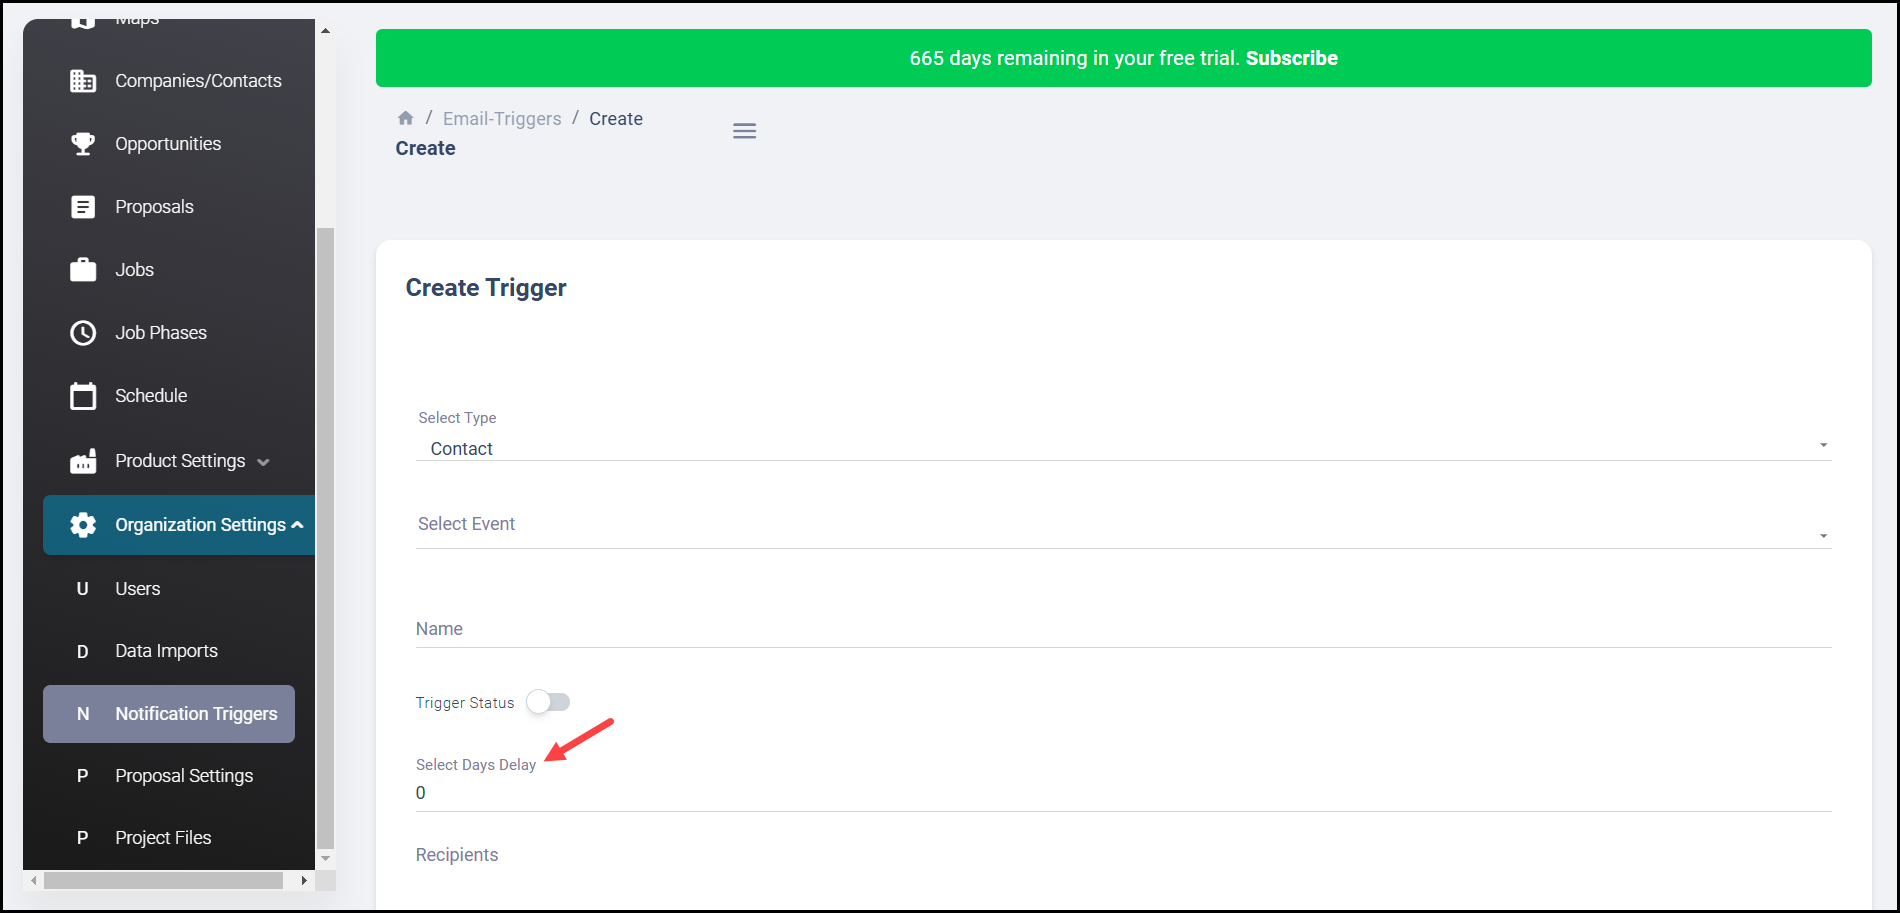
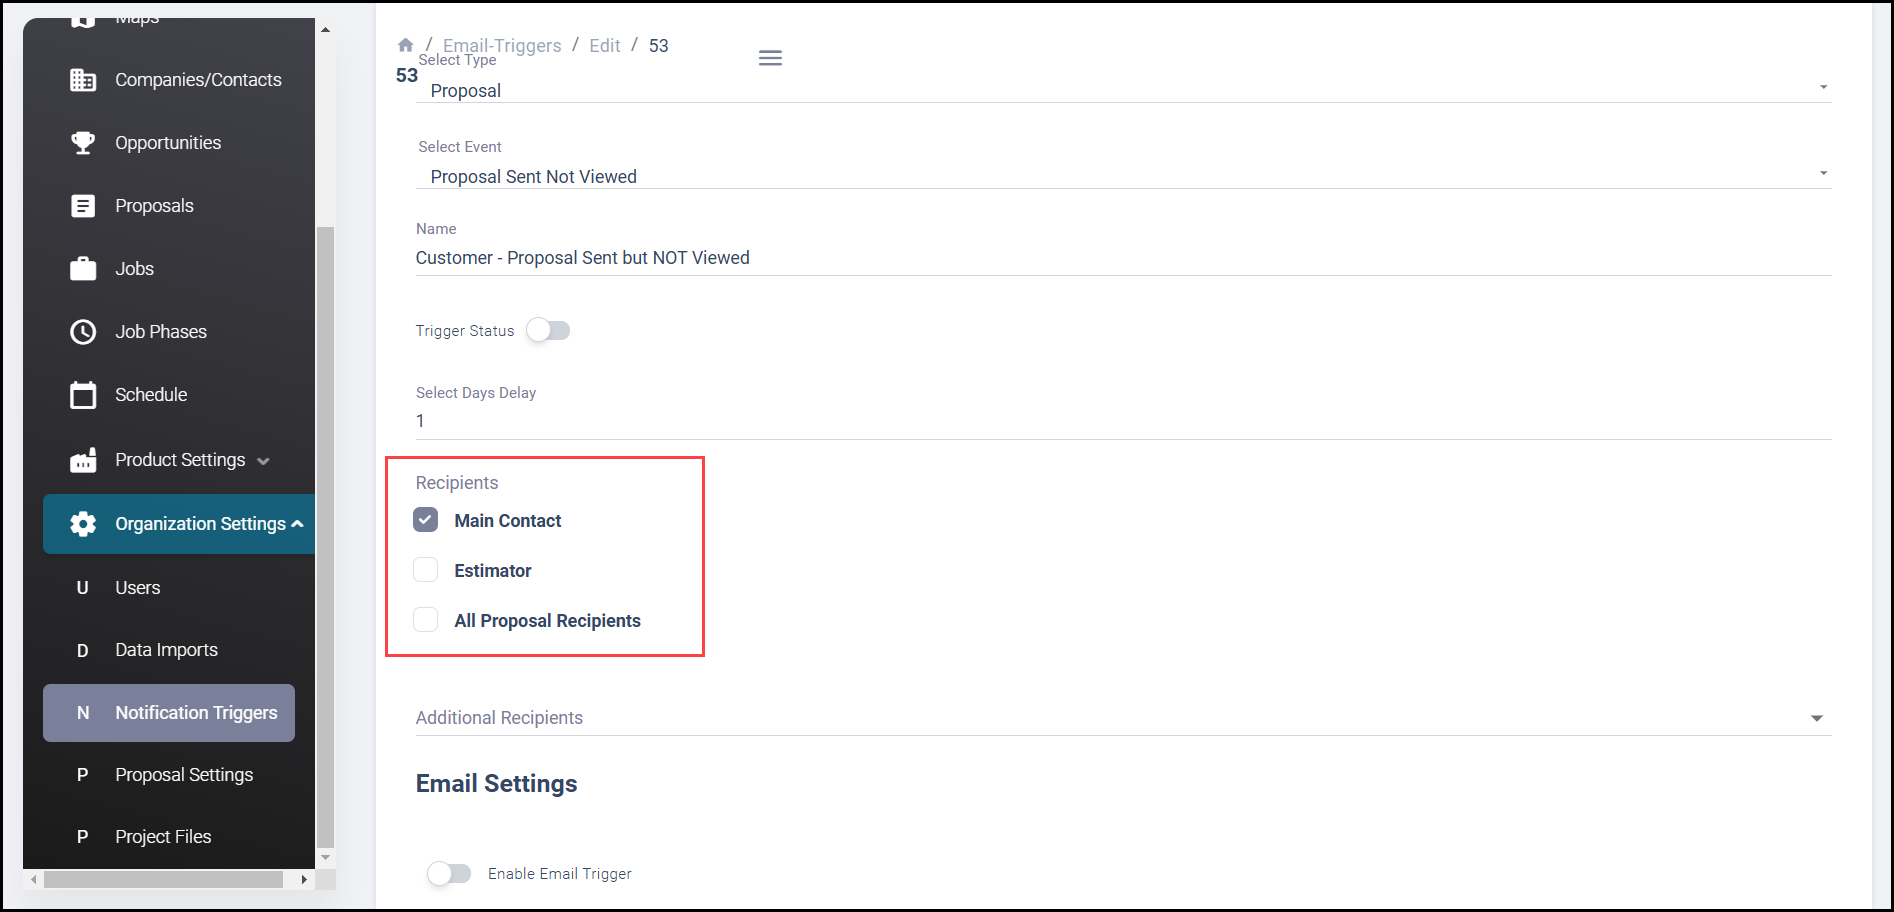
7. Mark the checkbox(s) for the recipients you want to include under the Recipients heading.
- Main Contact is the contact you have associated with the proposal.
- Estimator is the individual assigned to estimate the job costs.
- All proposal recipients sends the trigger to all recipients for the proposal.
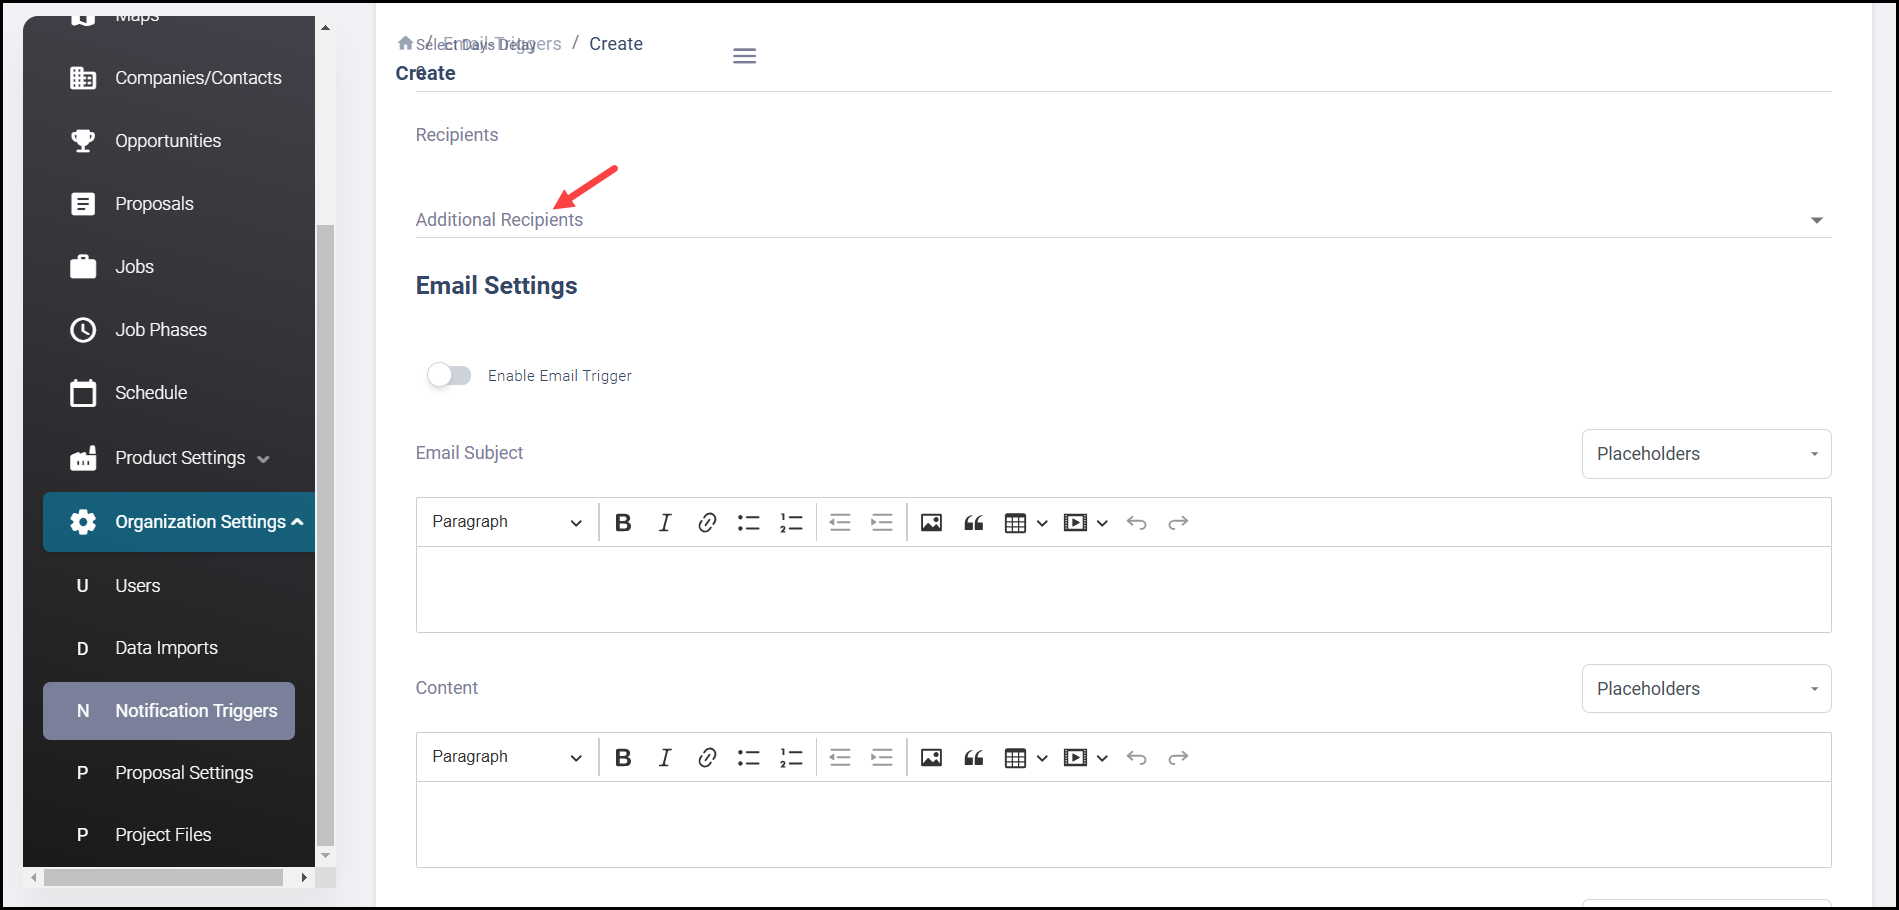
8. Define the additional recipients using the Additional Recipients. Emails can be sent to external Clients/Prospects, internal Employees, or Both.
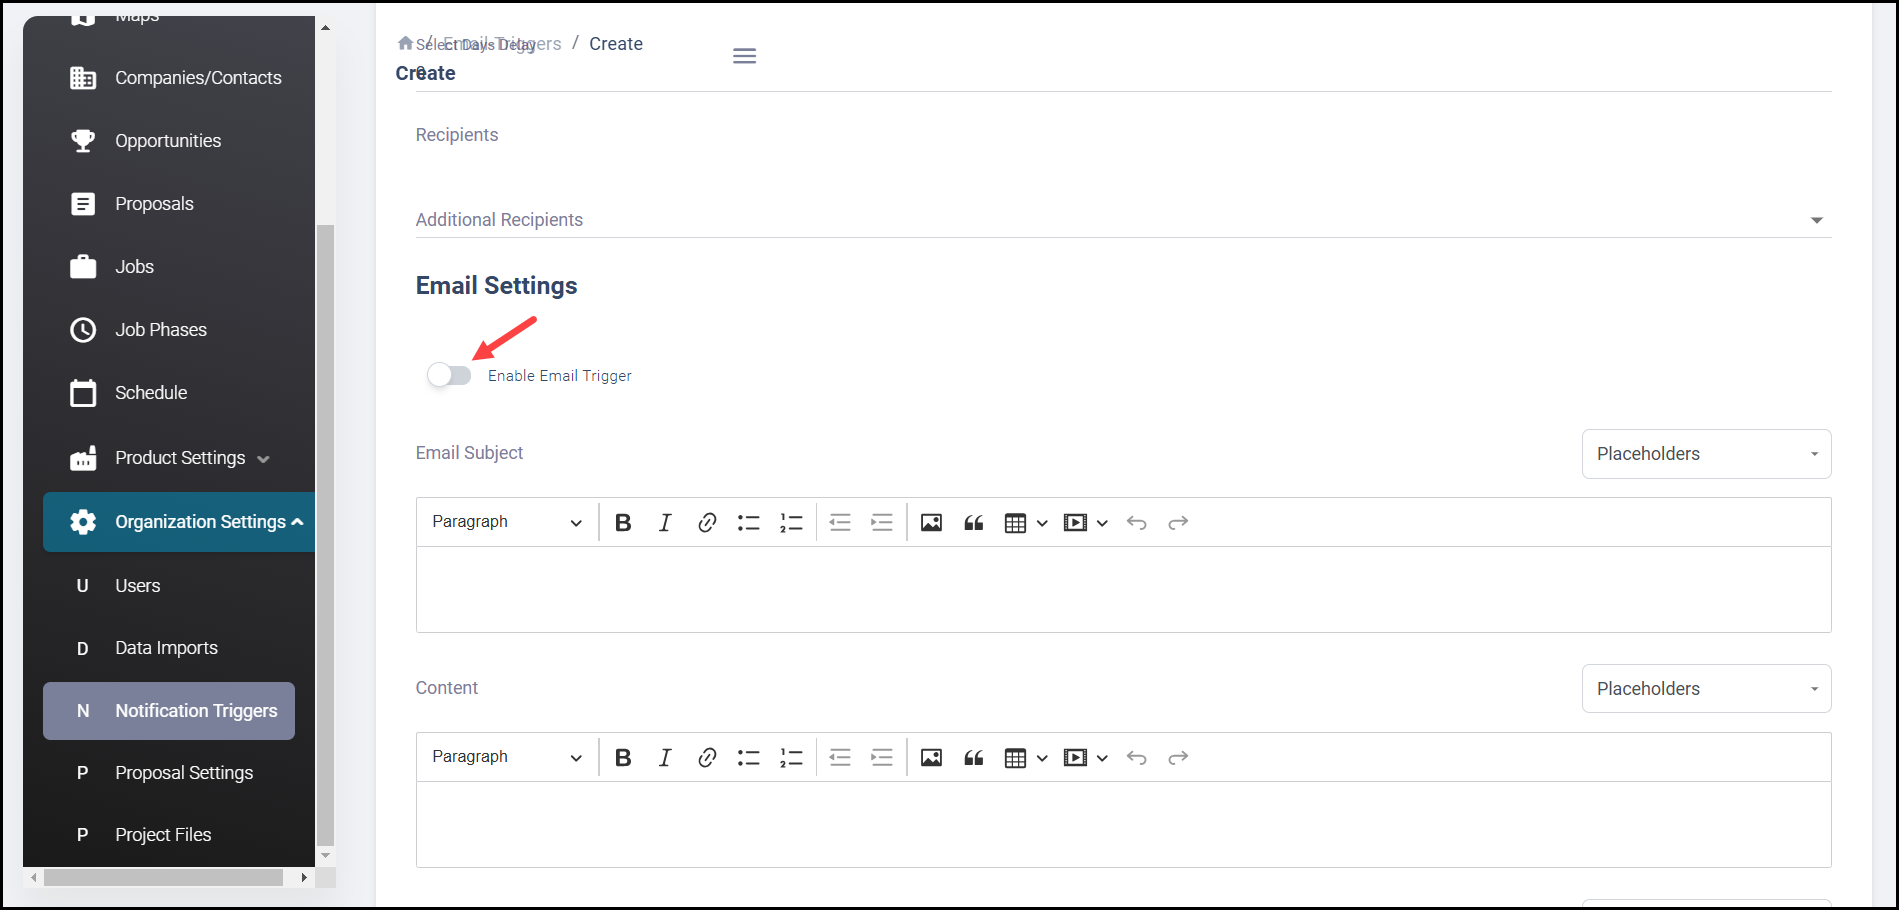
9. To enable email trigger, turn on the Enable Email Trigger toggle button.
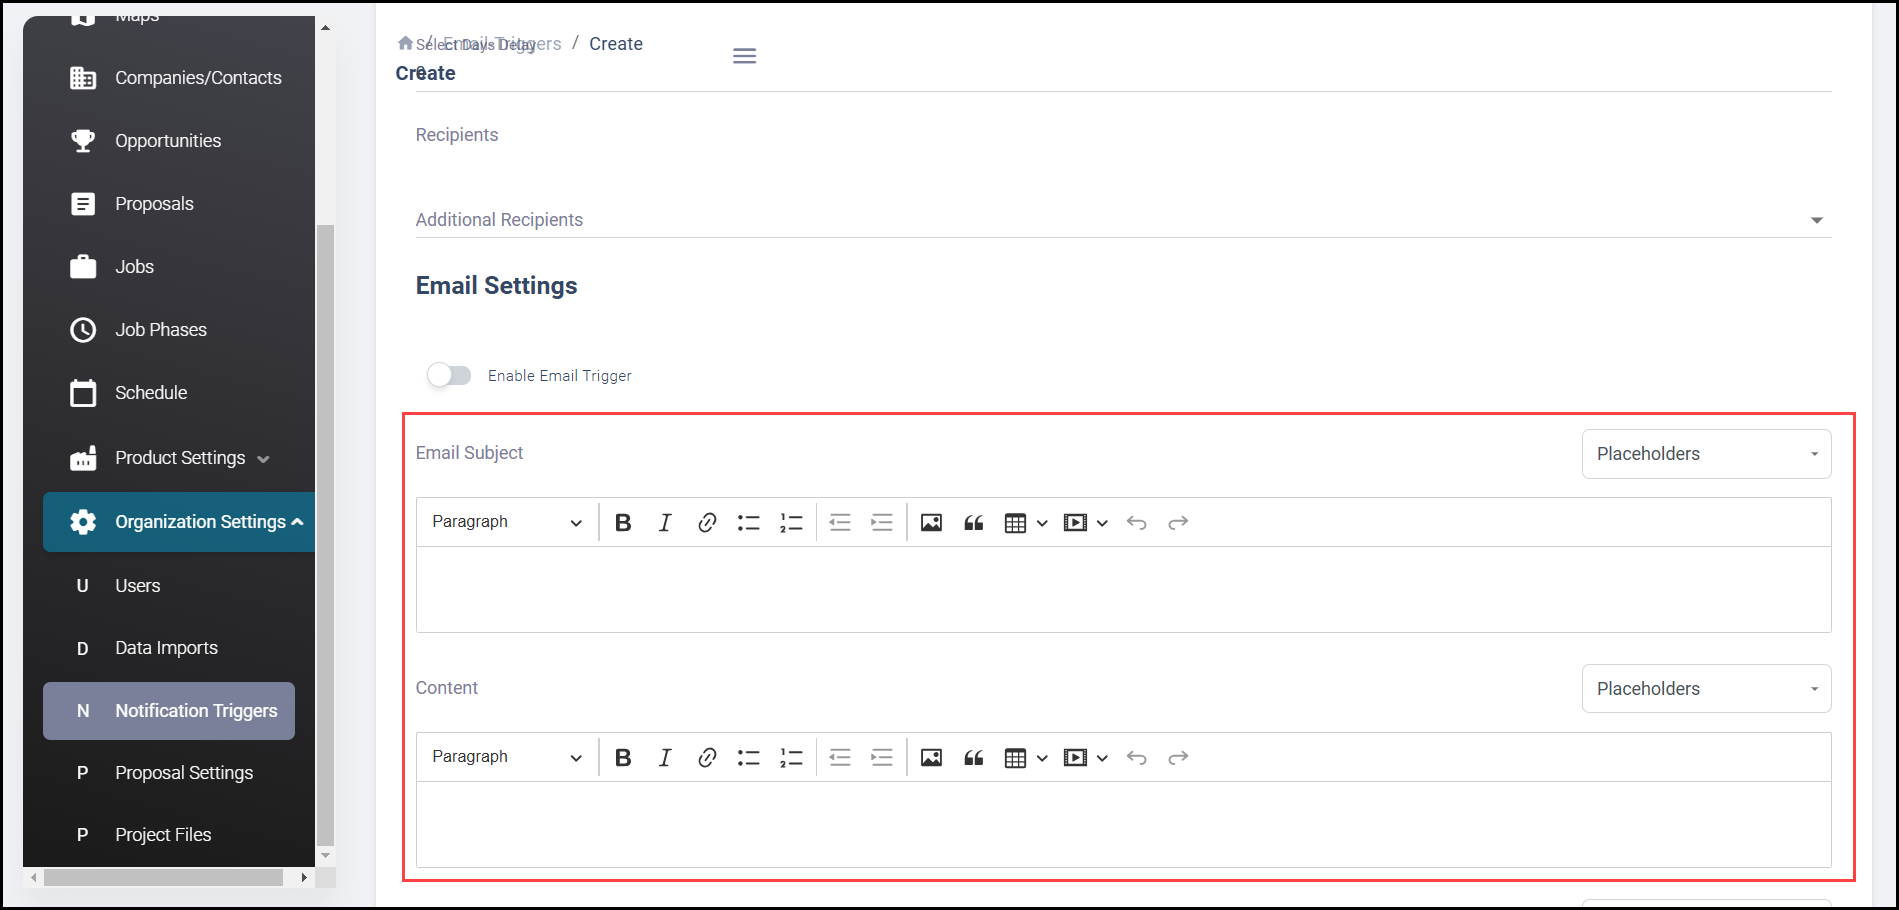
10. Add the message that should be sent to the recipients. Text, Images, Videos, Tables can all be added to an email.
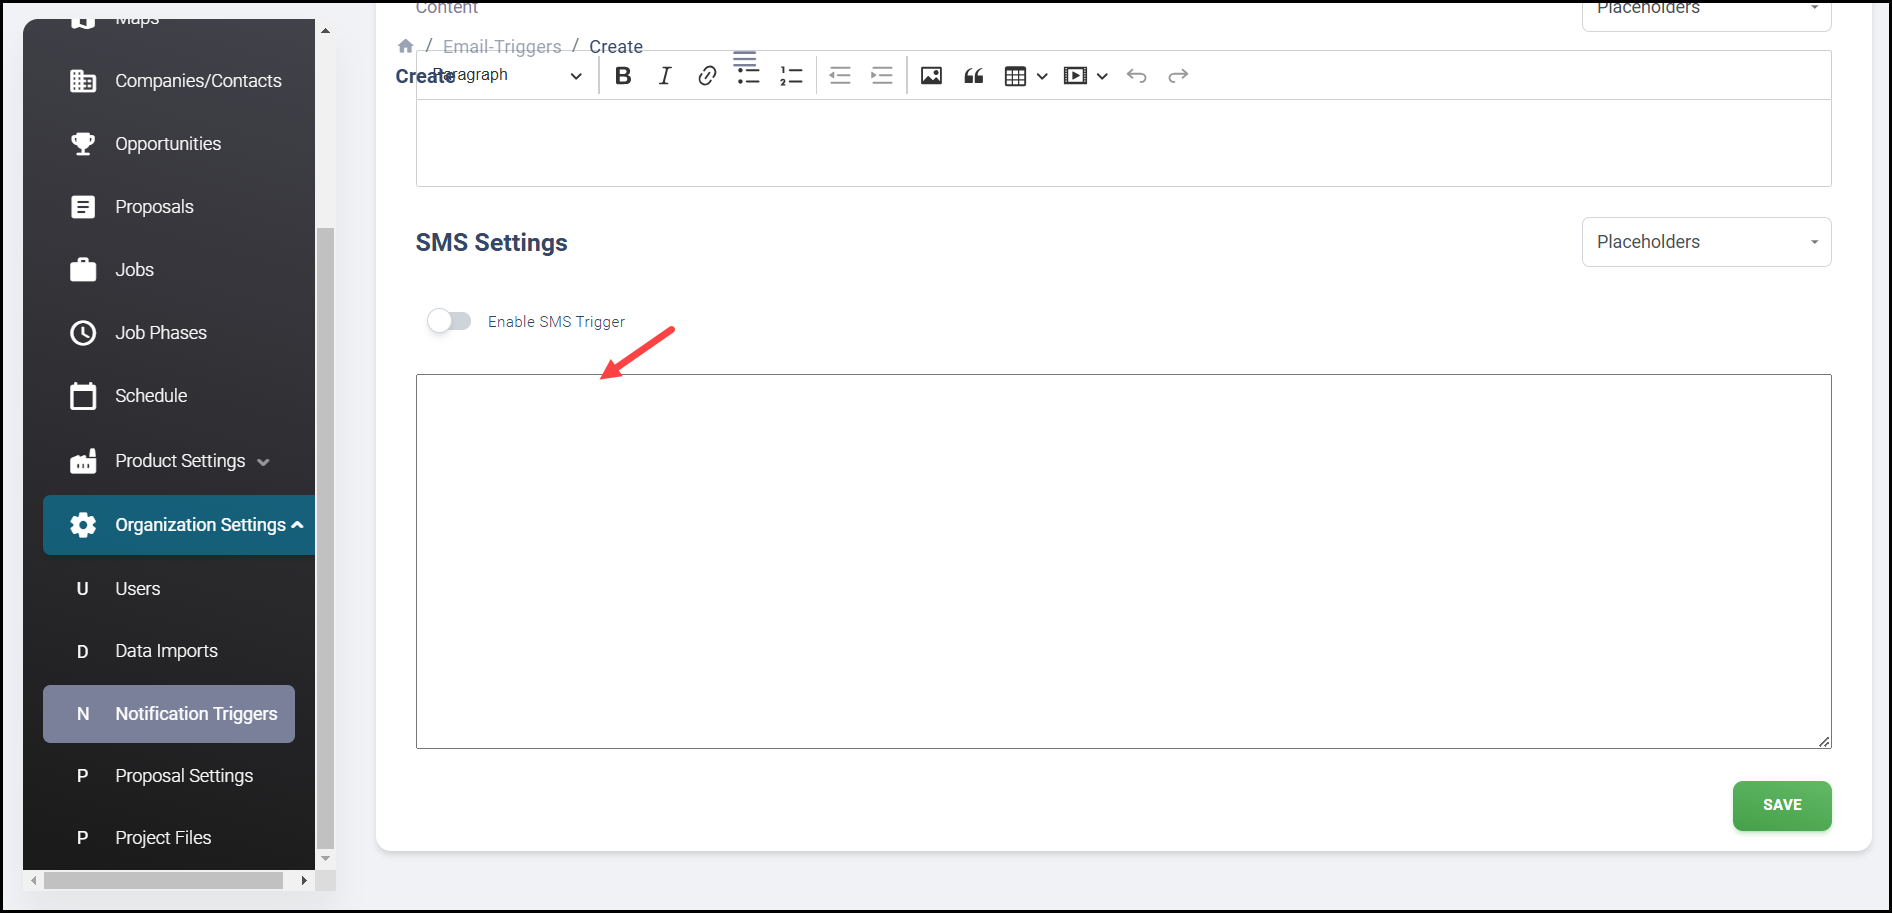
12. Additionally, you may use the SMS Settings textbox to develop an SMS notification trigger.
13. And you may also utilize the Task Settings textbox to create an internal Task associated with this Trigger.
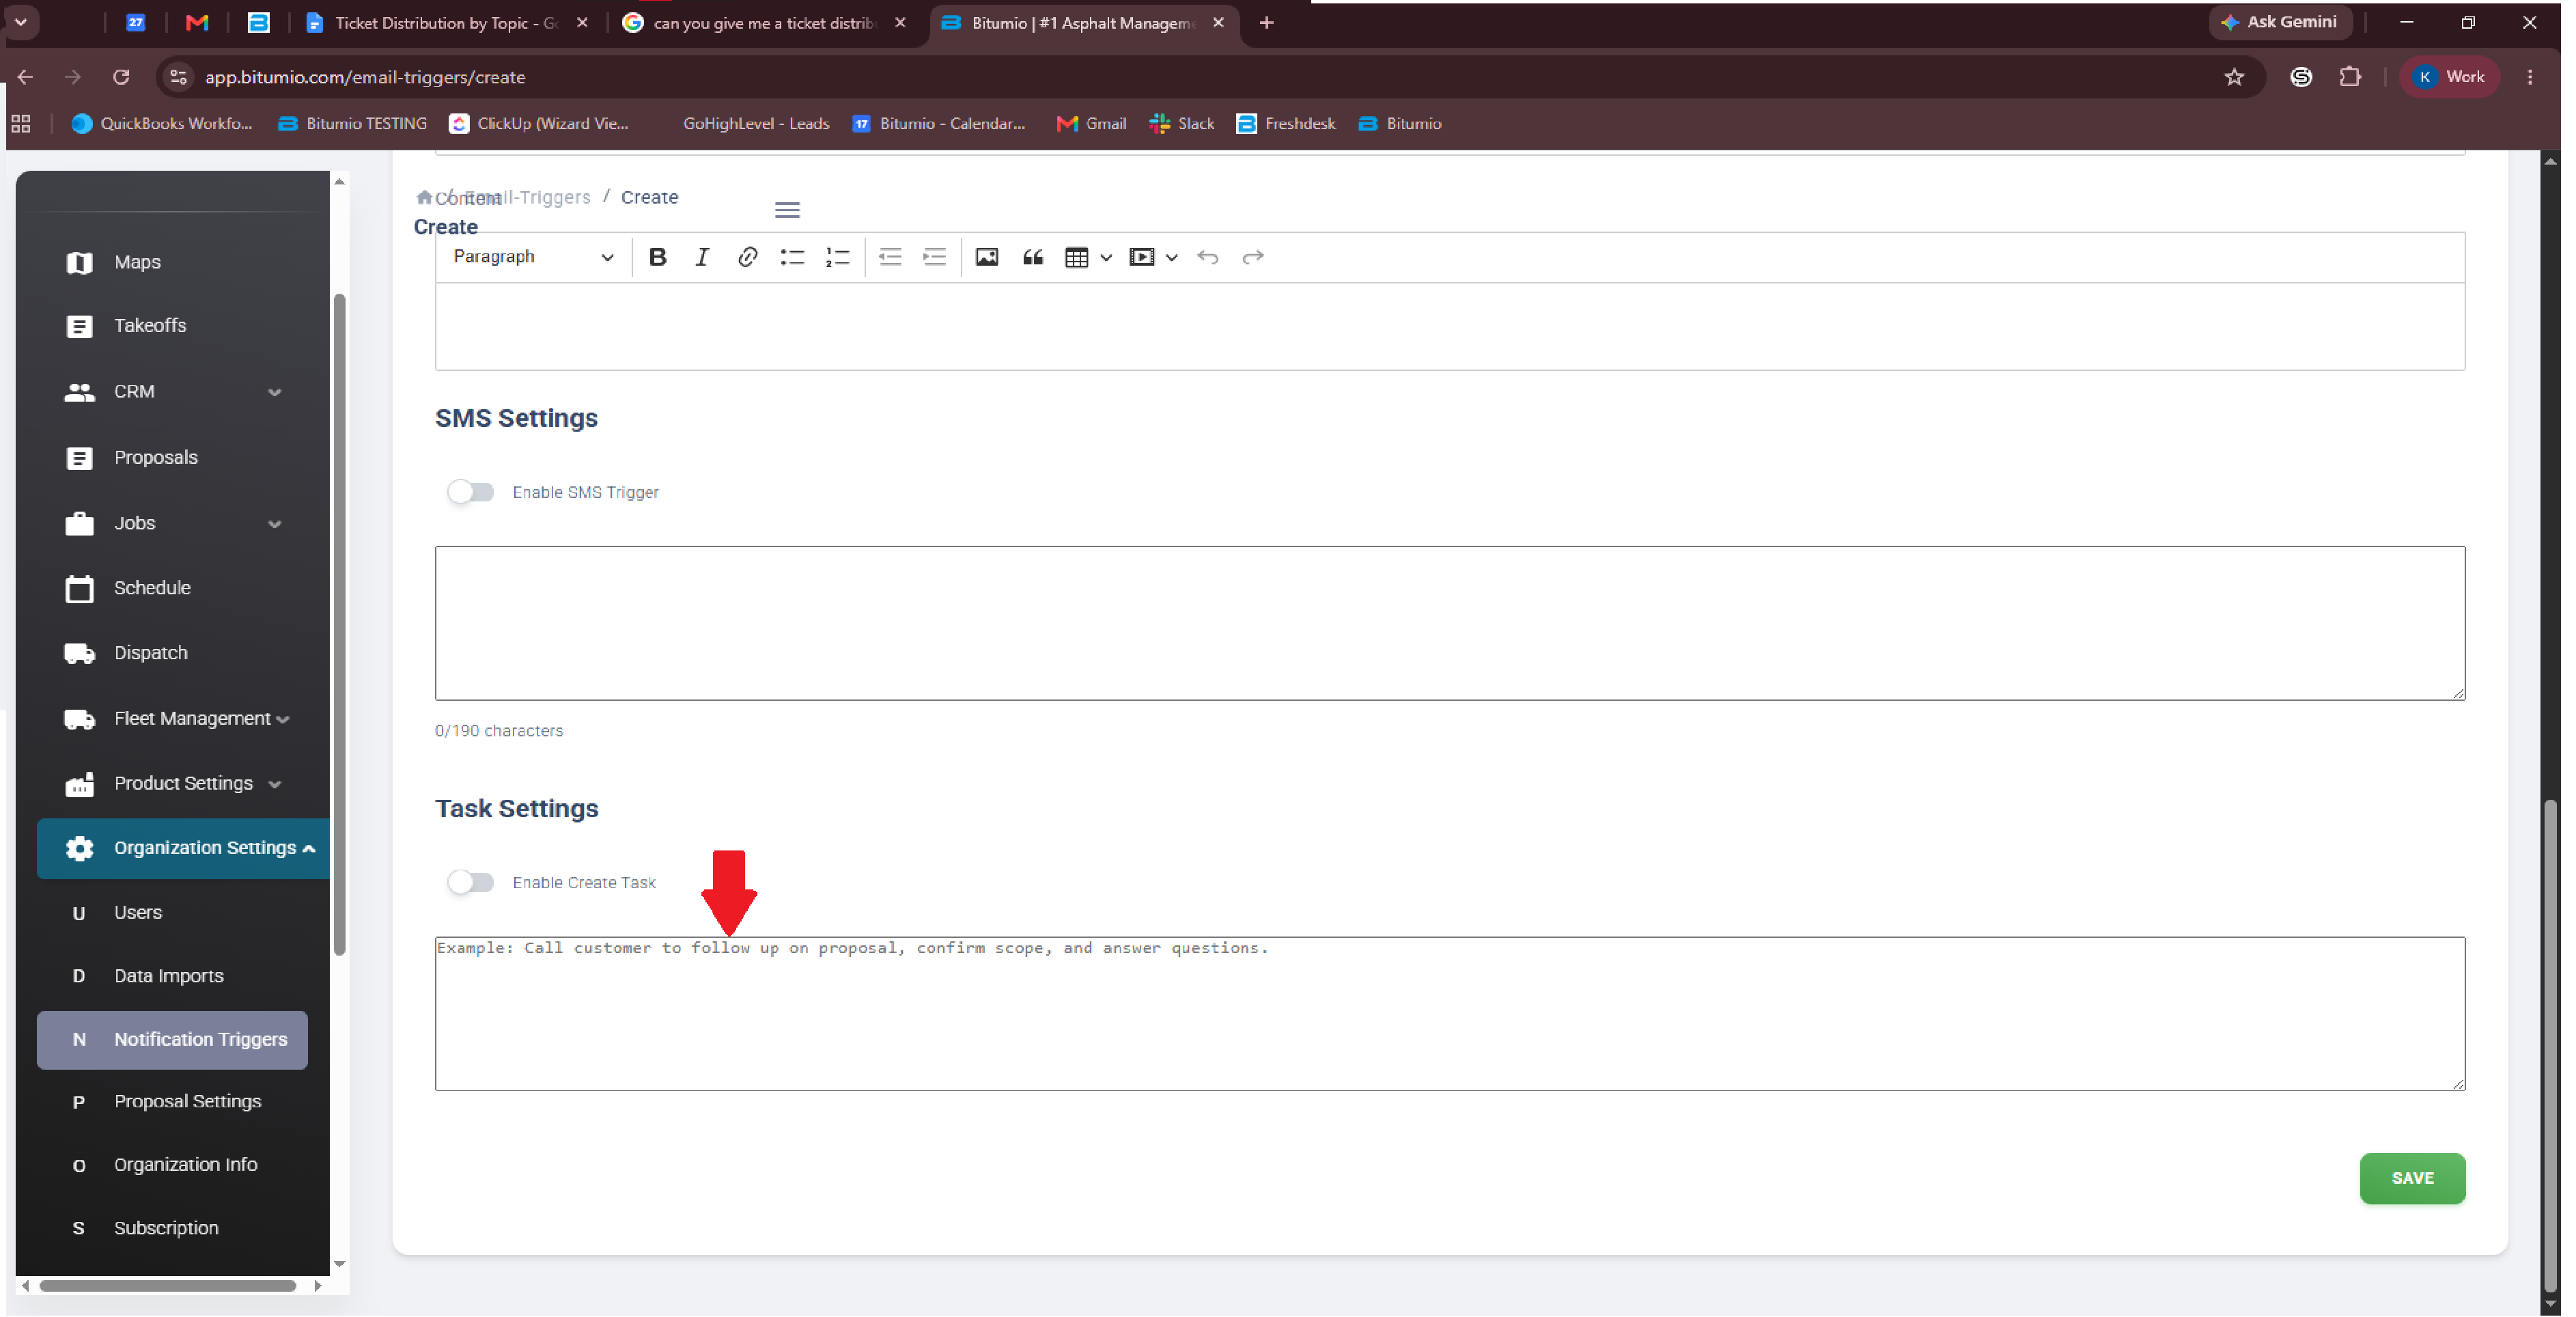
11. Just like you did with the email trigger, simply switch on the SMS and Create Task toggles to activate those features.
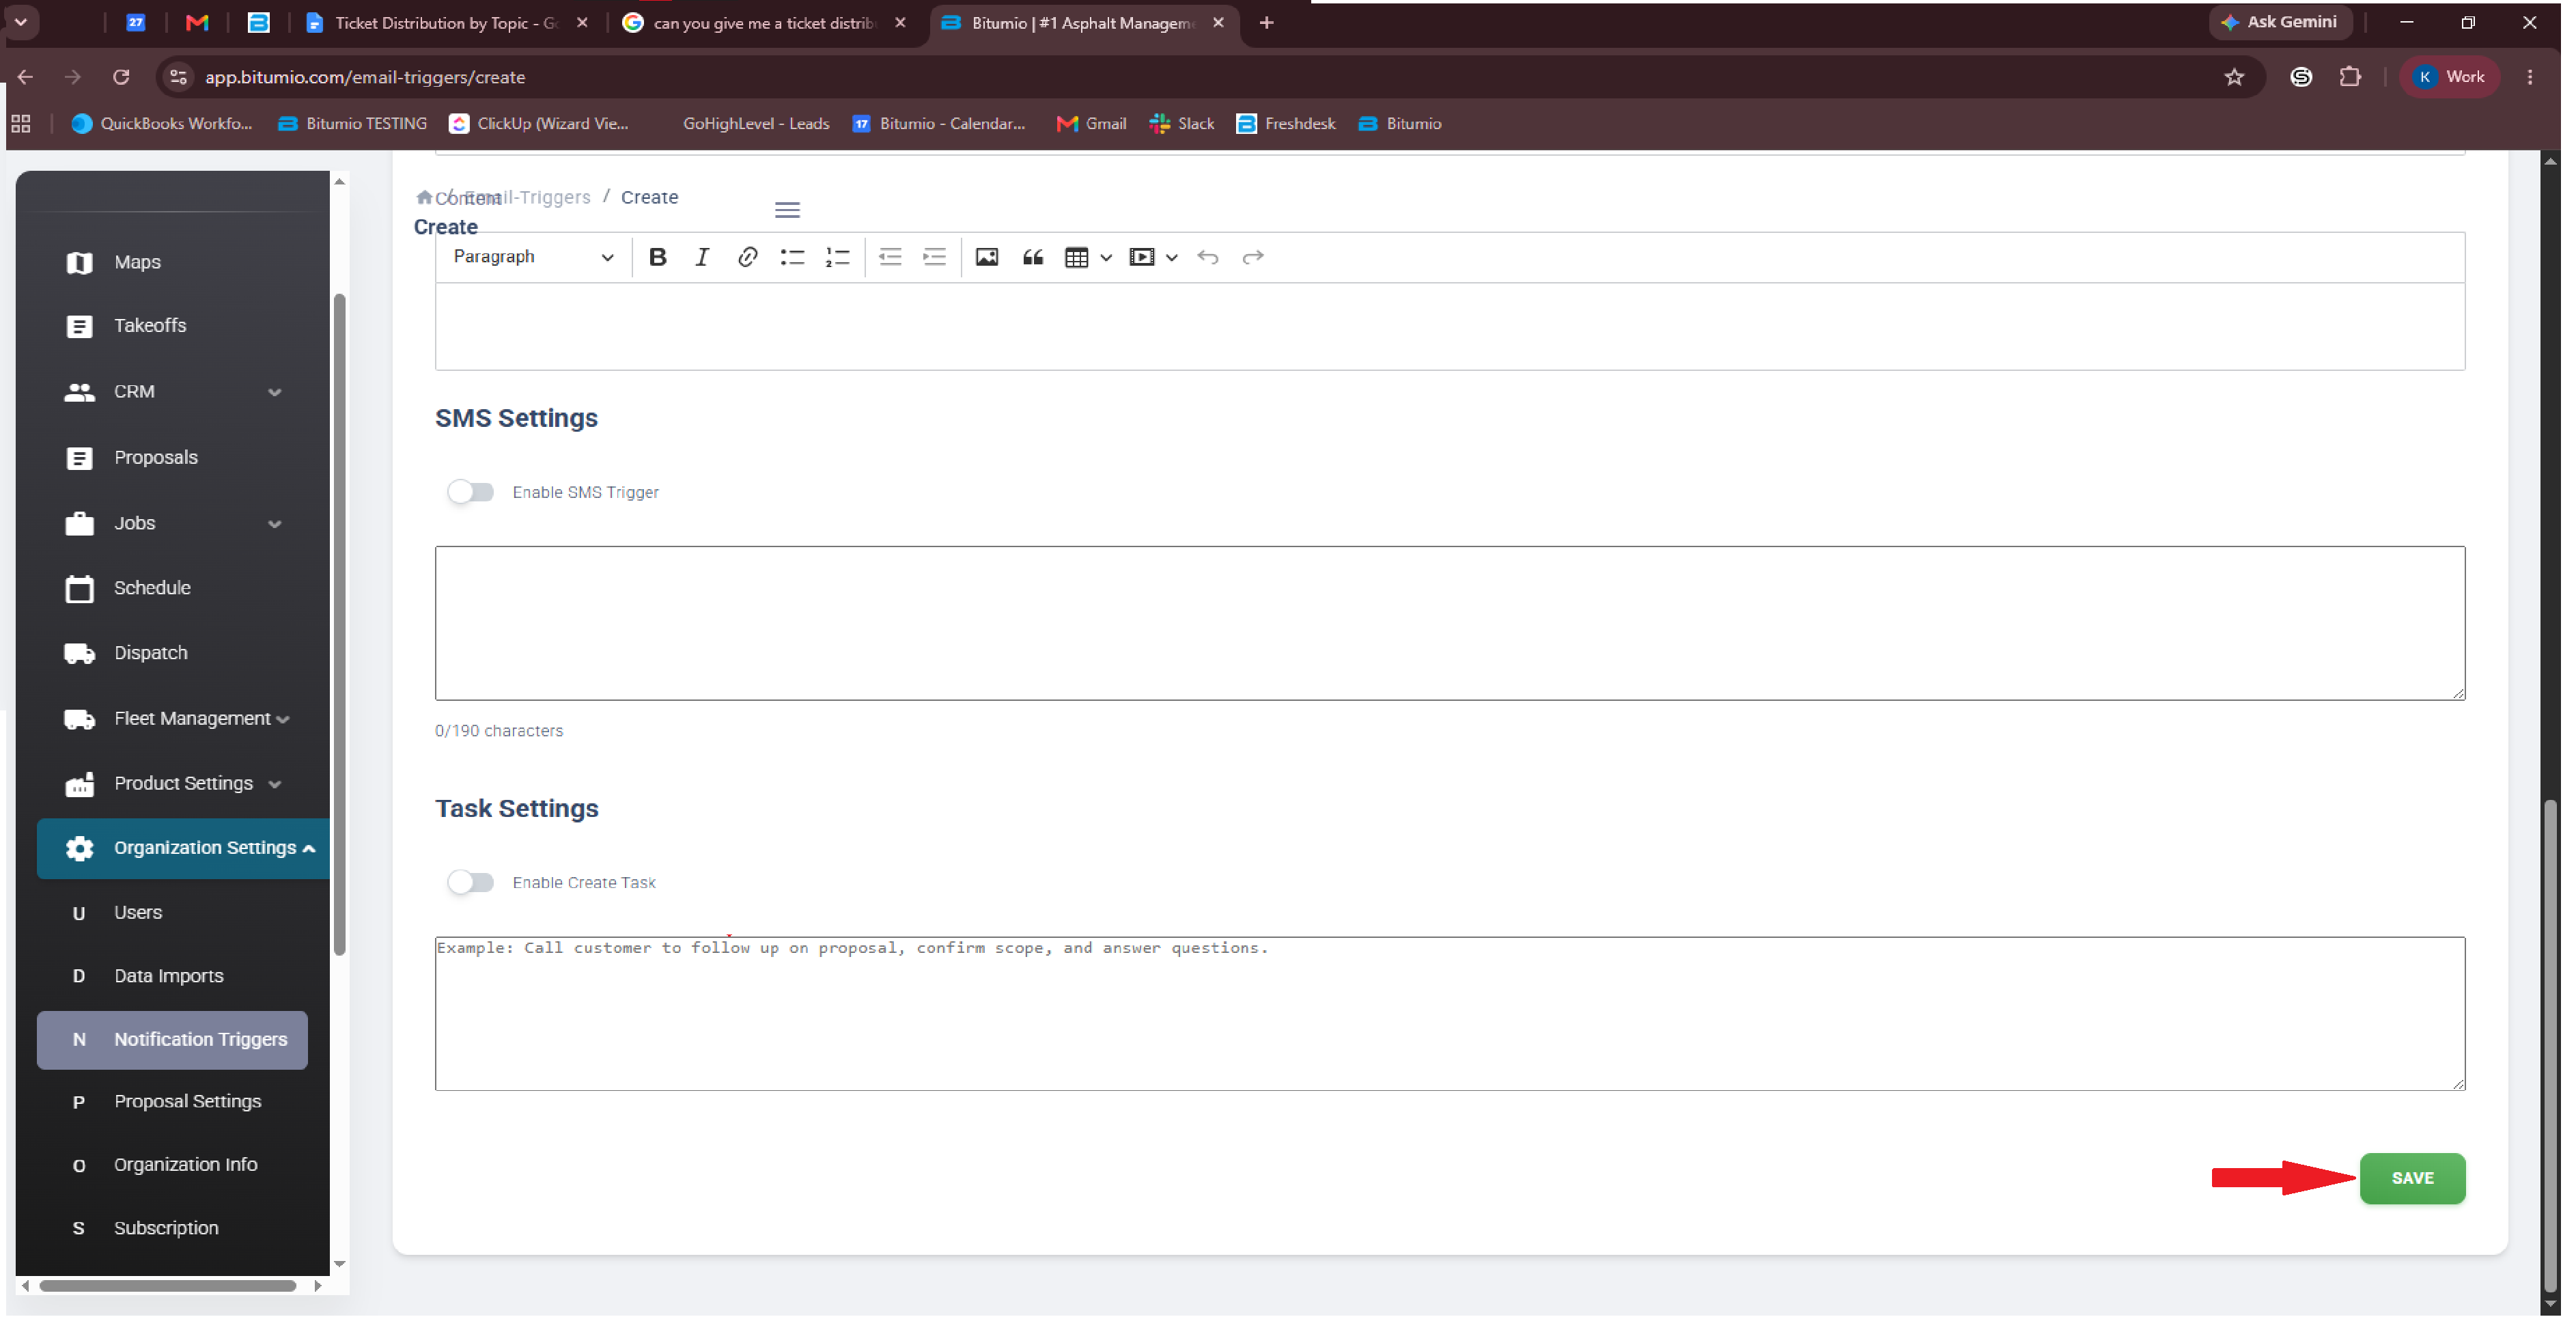
14. Once the notification trigger is configured, click the  button.
Was this article helpful?
That’s Great!
Thank you for your feedback
Sorry! We couldn't be helpful
Thank you for your feedback
Feedback sent
We appreciate your effort and will try to fix the article